Wednesday, 15 September 2021

Sunday, 15 August 2021

Basteltraum Challenge #104 Plants

 Hello ๐Ÿ’–

For this month's theme, it was the perfect opportunity to try out the new lawn fawn release!


I created this card by doing an alcohol ink background and tried a technic of Jennifer McGuire with stencils and alcohol inks, but it didn't quite go to plan, but it looked cool somehow. 

Then it was simply coloring and die cutting. 


Enjoy creating these wonderful cards 

Patrizia๐Ÿ’–

Thursday, 15 July 2021

Tuesday, 15 June 2021

Basteltraum Challenge #102 Animal

Hi ๐Ÿ’–

I think everybody can relate to this feeling; having stamps snd materials in your stash, which you rarely use. ๐Ÿ˜…๐Ÿค”

So I took this challenge to use these materials, even if the card doesn't get perfect at all, because you're not used to use for example coloring pencils at all. ๐Ÿ˜…๐Ÿคฃ 

Now it's your turn with this challenge of animals, happy crafting ๐Ÿ’–
Patrizia๐Ÿ’–

Saturday, 15 May 2021

Basteltraum Challenge #101 Water

 Hi there๐Ÿ’–

Another month another challenge! Are you ready for summer? The perfect time for jumping into the sea!


I was really into creating these Maze Cards so I created this underwater scene. 


I colored the background with Distress Inks and Oxide and added some water and some sunbeams in the end for getting a realistic look.


For the opportunity to slide these creatures through the water I used 1 Cent coins, they just work very well. Put everything together with foam tape and you get a cute underwater scene.


So now's your turn! Looking forward to seeing your creations!

Happy Crafting!

Patrizia ๐Ÿ’–

Thursday, 15 April 2021

Basteltraumchallenge #100 Surprise

Hey there ๐Ÿฅณ surprise I'm back

And I'm back with a new card for the new basteltraumchallenge.
And this is how I've done it. 

First of all I had no idea what to create so I've just pulled everything out what I would like to use. Then I went back to my bullet journal where I create sketches for a bit bigger cards so I see every step I take. 
Then I diecut everything I needed. 
Followed by all the heatembossing...
Then I stamped everything and this is how I lined up the sweet dragon in the magic Iris.
Followed by all the colouring...
And last but not least I put everything together and ended it up with my gorgeous stamp from create a smile and sommerabend.
So now its your turn  looking forward to seeing your surprises. ๐Ÿ˜
Patrizia ๐Ÿ’–

Products I've used (and I've purchased over bastel-traum.ch)
Lawn Fawn ~ Magic Iris
Lawn Fawn ~ Magic Iris Add on
Lawn Fawn ~ Peekaboo Backdrop
Mama Elephant ~ Big Happy Birthday
Gemini ~ Balloon Numbers
Mama Elephant ~ Up with love
Lee Holland ~ Hello You
Create a Smile (Stamps out of the adventcalendar 2020)


Monday, 15 February 2021

Basteltraum Challenge #98 Birthday

Hi everyone ๐Ÿ’—
It's time for another challenge and this time I haven't put so much thought in the card, it has literally just flown to me. 

I started by just colouring and fussy cutting this picture. Then I took pincers and cut a whole through the two pieces and pinned them together. 

Then I created the background, with a stencil I've never used before. I do not use an adhesive for my stencile, just pinning them down with my hands and some washi tape. What do you use? 

So to finish off I heatembossed a sentiment from create a smile and sticked the picture in the center with some foamadhesive.

I really love how it turned out, but now it's your turn. 
Happy crafting ๐Ÿ˜๐Ÿ’—๐Ÿ˜

Patrizia

Friday, 15 January 2021

Basteltraum Challenge #97 Love

First of all Happy New Year!
And it's time for a new challenge. After a busy card making season during christmas time, where I've done over 40 christmas cards, I was really up to something simple. 

The theme from the #97 basteltraum challenge is all about love. And here is my card ๐Ÿ’—


I created this simple background by colour blending and coloured in the dino with copic markers. The sentiments were stamped out with archival ink and heat embossed with clear WOW Embossing Powder. 

I totally love the simplicity of this card!๐Ÿ’— And I'm looking forward seeing your projects! 
Happy Crafting

Patrizia

Gerda Steiner Designs ~ Coffeesaurus

Sunday, 15 November 2020

Basteltraum Challenge #95 Winter

It's beginning to look a lot like.... no we're not introducing christmas song. Here is a new challenge on bastel-traum blog. 

We finally heading towards christmas so lets go with winter cards in first place. ๐ŸŒŸ

And because we're often hustle in this time of the year, here's a simple card to make.


In first place I decorated all bits and pieces I needed for the card. I decided to go for coloring white paper instead of using design paper instead (except the front pannels). 

Then I just assembled the whole card with liquid glue and there it is... ๐Ÿ˜

Cute but still elegant ๐Ÿ˜ I totally fell in love with this shutter card dies of lawn fawn, because you can create fantastic cards but they are assembled really simple and fast.

Now it's your turn ๐Ÿ˜ looking forward to seeing your crafty projects. 

Happy crafting ๐Ÿ’—
Patrizia

Products I've used: 
#ad (Purchased by Bastel-Traum )

Lawn Fawn ~ Shutter Card Dies
Sunny Studios ~ Winter Scenes
Lawn Fawn ~ Winter Dragon

Saturday, 17 October 2020

Tuesday, 15 September 2020

Basteltraum Challenge #93 Fall

 Hello everybody!๐Ÿ’–


Warm summer days are slowly fading, first trees getting colourful leaves so it's time for another challenge! Nothing suits better than fall cards. 

I had way too many ideas for suitable cards so I created two of them.


Hedgehog under leaves!


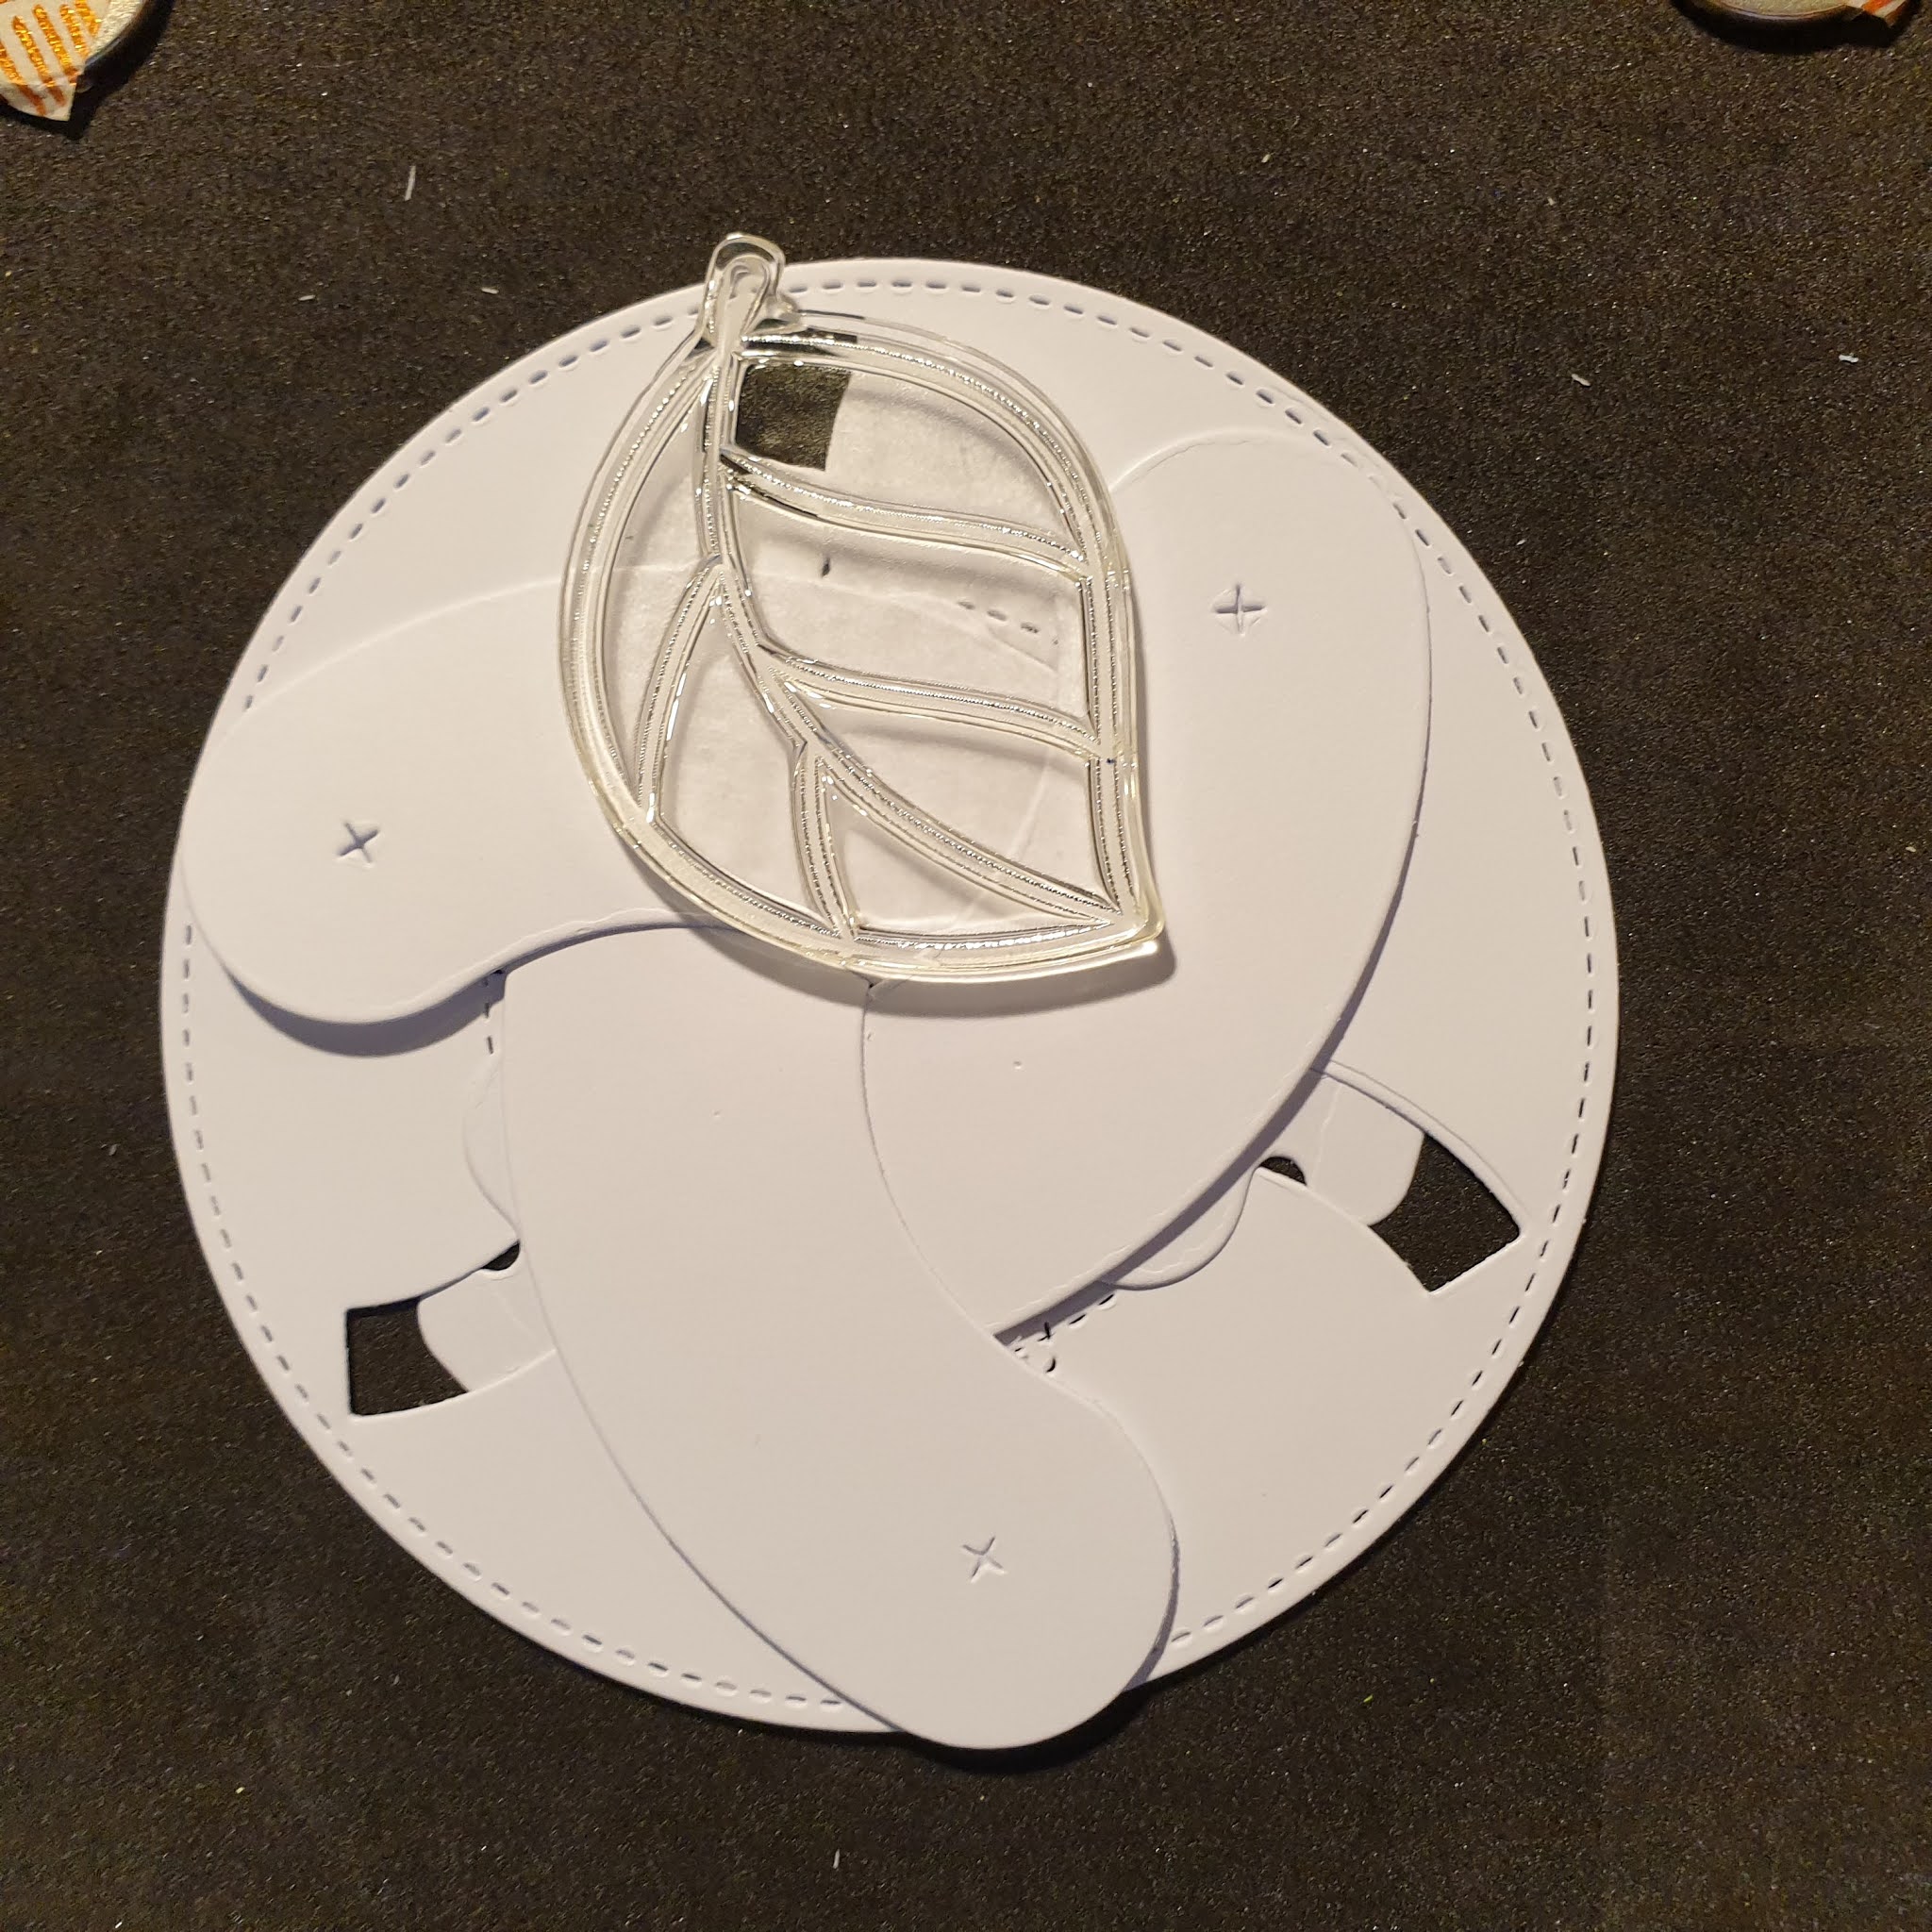
In the first step, I created the magic iris and placed the leaves on it which I marked with a pencil.


Then I placed the sausage part in my stamping tool to stamp the leaves on it.


Colouring with my Copic markers.


The finished iris.


Then I created the background with the magic iris add on. I just layered the leaves randomly.


For the centre, I layered a hedgehog on leaves.

So now just colouring-in and putting everything together. 

๐Ÿ’›

Squirrels in the tree!


First I created the background, with just simple layering and colouring with Copic markers and blending brushes.


Then I assembled the iris in the first place and stamped on it afterwards. I used a pencil as well for marking where to stamp. 

Colouring, assembling, finished!

๐Ÿ’š

So now it's your turn, looking forward to your projects on Bastel Traum Challenge
Happy crafting!

๐Ÿ’–
Patrizia

Saturday, 15 August 2020

Basteltraum Challenge #92 CAS

 Hi everyone! ๐Ÿ’–


It's time for another challenge and this time the theme is CAS. It means clean and simple. So let's keep the blog post as well CAS. ๐Ÿ˜‹

This is my card for your inspiration. It's as simple as it looks to create. 

First I die cut a white card base. In the second step, I measured the film tape to mask my stamps in the correct size. Finally, I coloured them in with some grey Copic markers and stamped the sentiment in the right corner.


It's as simple as this so I totally forgot to take more pictures. But I loved the special look the film tape gave to this card. 


Now let's have fun with this challenge and I'm looking forward to your creations! 

Happy crafting!

Patrizia ๐Ÿ’–

Wednesday, 15 July 2020

Basteltraum Challenge #91 Anything goes

Hello everyone! ๐Ÿ’–


I'm Patrizia and I'm new in the Basteltraum design team. If you want to know more about me and my Cards please check That's me or my Instagram Page @acupofcards


My first challenge in the design team is "anything goes". So no worries, you can participate with everything you want! 
If you have any doubts or you don't know what to do, do it like I've done it. I've gone through my crafting stuff and picked out things I haven't used yet and created this card out of it!


At the end of the description you gonna find all the products I've used and the direct links if you wanna purchase something for YOUR NEXT PROJECT ๐Ÿ’–.


In first step I created a background on this white card base with distress inks and distress oxide. To separate the galaxy from the sky I used a masking tape. The galaxy I made roughly after a tutorial I've seen once on YouTube by danipeuss. For the black ink I prefer the ink blending tool it's easier for me to create a highly saturated surface. For the other colours I prefer using blending brushes.


In second step I used my stamping tool (as well for the upcoming sentiment in the banner) to stamp all the images onto a white copy paper and coloured it with my copic markers. I love these scissors to cut out all my images. These were highly recommended to me by Papierlisi and I really fell in love. Then I die cutted all the bits and pieces I needed with my Crossover II die cutting machiene.


The little sparkles I made with opaque white and a tooth brush. So it was time to assemble my card. 


For the final touch I added some little stars with the nuvo glow.


So the stars are glowing in the dark! ๐Ÿ˜ 

I could imagine to use this card as a motivational one, like you can do it! Or for a galaxy and sky lover, so you could change the sentiment to anything you want, like "Happy Birthday" or anything else you want.

So now it's your turn! Looking forward to your creations in this #91 anything goes challenge
Happy crafting!๐Ÿ’–

Monday, 29 June 2020